

Let’s be really honest for a second — planning your week sounds amazing in theory. You imagine yourself with a pretty planner, colorful pens, everything organized, meals planned, and a calm, peaceful Monday morning where you magically have your life together.
But in reality?
Most of us buy a planner, use it for a week or two, then forget it exists until we find it under a pile of laundry three months later.
And then… we feel guilty.
Here’s the truth:
You’re not failing — your system was failing you.
A weekly planner has one job: to help your life feel easier, lighter, calmer, and less overwhelming. If it stresses you out, if it’s too complicated, or if it doesn’t match your real-life needs, of course you’re not going to stick with it.
So today, I’m sharing realistic, flexible, human weekly planning tips that finally make planning feel doable — even if your life is messy, busy, full of kids, full of work, full of chaos, or full of all of it at once.
This is how you set up a weekly planner you will actually keep using — not just decorate.
Why Weekly Planning Matters (Even If You’re Not Naturally Organized)
Weekly planning isn’t about being perfect.
It’s not about having a color-coded life or being the “Pinterest mom” or waking up at 5 a.m. to journal for an hour.
Weekly planning is about:
- reducing stress
- avoiding last-minute chaos
- remembering important things
- allowing time for what matters
- creating breathing room
- feeling more in control of your days
It’s not about adding more to your life — it’s about removing the unnecessary mental clutter.
Your planner becomes your brain’s “external hard drive” — the place where the mental load finally gets a little lighter.
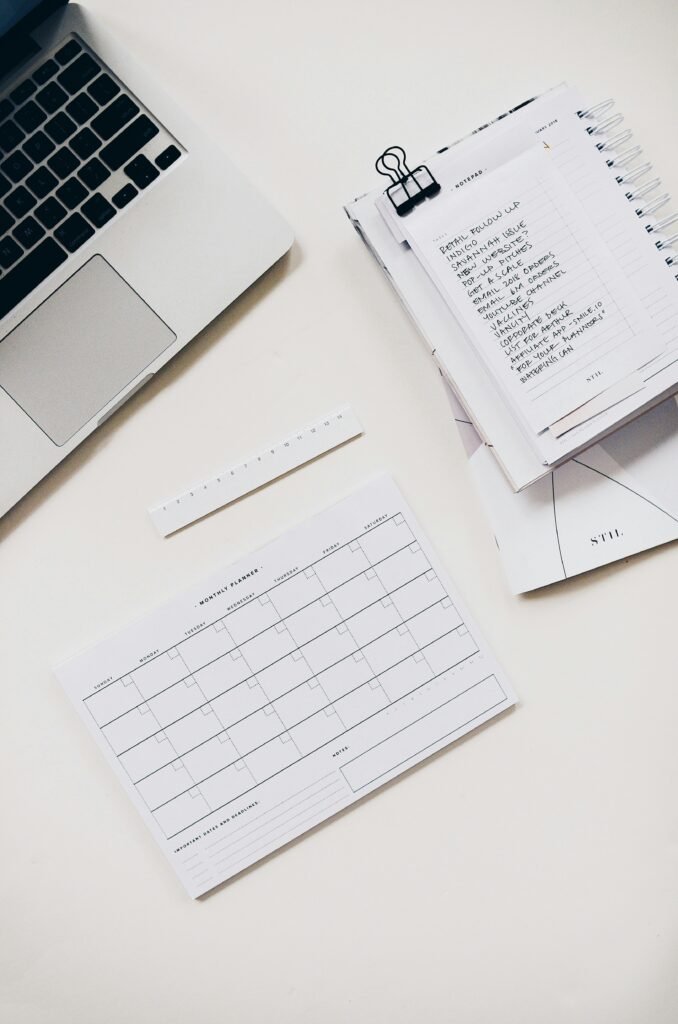
1. Choose a Planner Format That Matches YOU
This is one of the most underrated weekly planning tips.
Your planner should fit your personality, not the other way around.
If you love writing, choose:
- a paper planner
- a bullet journal
- a printable weekly spread
If you’re always on your phone, choose:
- Google Calendar
- Apple Calendar
- Notion
- A simple notes app
If you’re visual, use:
- color coding
- stickers
- highlighters
If you hate “extra work”, choose:
- the simplest, most minimalist layout possible
- a whiteboard on the fridge
- a weekly printable you fill fast
There is no wrong choice — only the one you’ll actually stick with.
2. Create a Weekly Planning Ritual You Look Forward To
Planning shouldn’t feel like homework.
It should feel like a moment of peace.
Pick a day — Sunday evening or Monday morning is perfect — and make it cozy:
- tea or coffee
- music
- a comfy blanket
- five minutes of calm
Then ask yourself:
- What’s happening this week?
- What deadlines or appointments do I have?
- What do I need to get done?
- What do I want to make space for?
This little ritual sets the tone for your whole week.
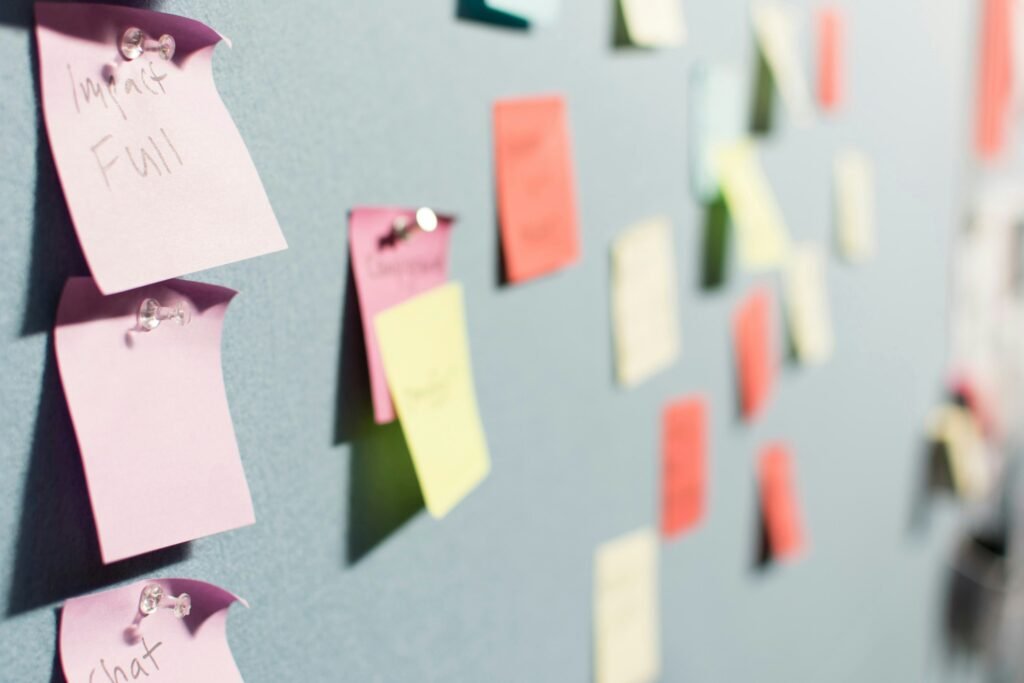
3. Use Simple Categories (Not Complicated Layouts)
One of the biggest mistakes is trying to use a planner that has 25 boxes you’ll never fill out.
Keep it simple.
Think about your life. What categories do YOU need?
Here are examples that work for most people:
Weekly Categories You Can Use
- Top 3 Priorities
- Appointments / Events
- Meals / Dinner Plan
- House Tasks
- Kids / Family
- Work Tasks
- Self-Care / Movement
- Notes & Reminders
That’s it.
Your planner doesn’t need to look aesthetic — it needs to work.
4. Time-Block (The Easy, Stress-Free Way)
You don’t need to plan every hour.
Just divide your day into 3 simple blocks:
- Morning
- Afternoon
- Evening
Assign 1 or 2 main tasks to each block.
Example:
Monday
Morning: respond to emails
Afternoon: grocery shopping
Evening: fold laundry
It’s flexible, realistic, and easy to follow — no perfection required.
5. Choose 3 Daily Priorities — No More
Your to-do list should not be 33 tasks long.
Each day, choose ONLY THREE:
- one personal
- one home
- one work-related
If you finish all three? Great.
If you don’t? You still accomplished the most important things.
That alone can transform your stress levels.
6. Keep It Visible — This Changes Everything
Your planner should live somewhere you see it every day:
- next to your coffee machine
- on your desk
- on the fridge
- open on your dining table
- on your phone’s home screen
Out of sight = out of mind.
Visible = useful.
7. Add Joyful Things Too (Not Just Responsibilities)
Your week is not just obligations.
You are allowed to add:
- “take a walk alone”
- “movie night”
- “call a friend”
- “bake something fun”
- “sit and do nothing”
Planning joy is just as important as planning tasks.
8. Leave White Space — on Purpose
You need empty time.
Not scheduled.
Not planned.
Not productive.
Just space.
White space gives your week:
- room to breathe
- room to rest
- room to adjust
Overplanning leads to burnout.
Blank space leads to peace.
9. Create a Weekly Meal Plan That’s Realistic
A good meal plan does NOT mean cooking for hours.
It can be:
- 3 simple dinners
- 1 leftovers night
- 1 takeout night
- 1 “whatever you find” night
- 1 pasta or sandwich night
Write it in your planner to avoid daily stress.
10. Do a 5-Minute Daily Check-In
Each morning (or night), spend 5 minutes reviewing:
- what’s still relevant
- what needs adjusting
- what you can postpone
- what you need to prepare
This makes your planner feel alive — a tool you interact with, not a book collecting dust.
11. Let Imperfect Weeks Be Totally Fine
Some weeks you will be super organized.
Other weeks… chaos.
Life happens:
kids’ tantrums
work stress
appointments
sick days
fatigue
unexpected events
A planner is not a contract.
It’s a support system.
Use it when it helps.
Skip it when you can’t.
Always come back gently.

FAQ — Weekly Planning Tips
1. How do I start weekly planning if I’ve never done it before?
Start small. Choose one planner format, create a simple weekly ritual, and plan only the major things: appointments, dinners, top priorities.
2. What’s the best weekly planning layout?
The best layout is the one you’ll actually use. Simple categories like priorities, meals, and appointments work for almost everyone.
3. How long should weekly planning take?
About 10–15 minutes. You don’t need a long, complicated session — just a quiet moment to reset.
4. How do I stay consistent with my weekly planner?
Keep it visible, check it daily, and don’t try to make it perfect. A planner should make your life easier, not harder.
5. What if I miss a week in my planner?
Nothing happens. Just turn the page and start again. Weekly planning is a tool, not a test.
Final Thoughts
A weekly planner shouldn’t feel like pressure — it should feel like peace.
When you build a planning routine that fits YOUR real life (not someone else’s), you start to feel:
✓ more in control
✓ less overwhelmed
✓ clearer in your mind
✓ more intentional
✓ more grounded
You don’t need a perfect system.
You just need one that helps you breathe a little easier.
And you deserve that.